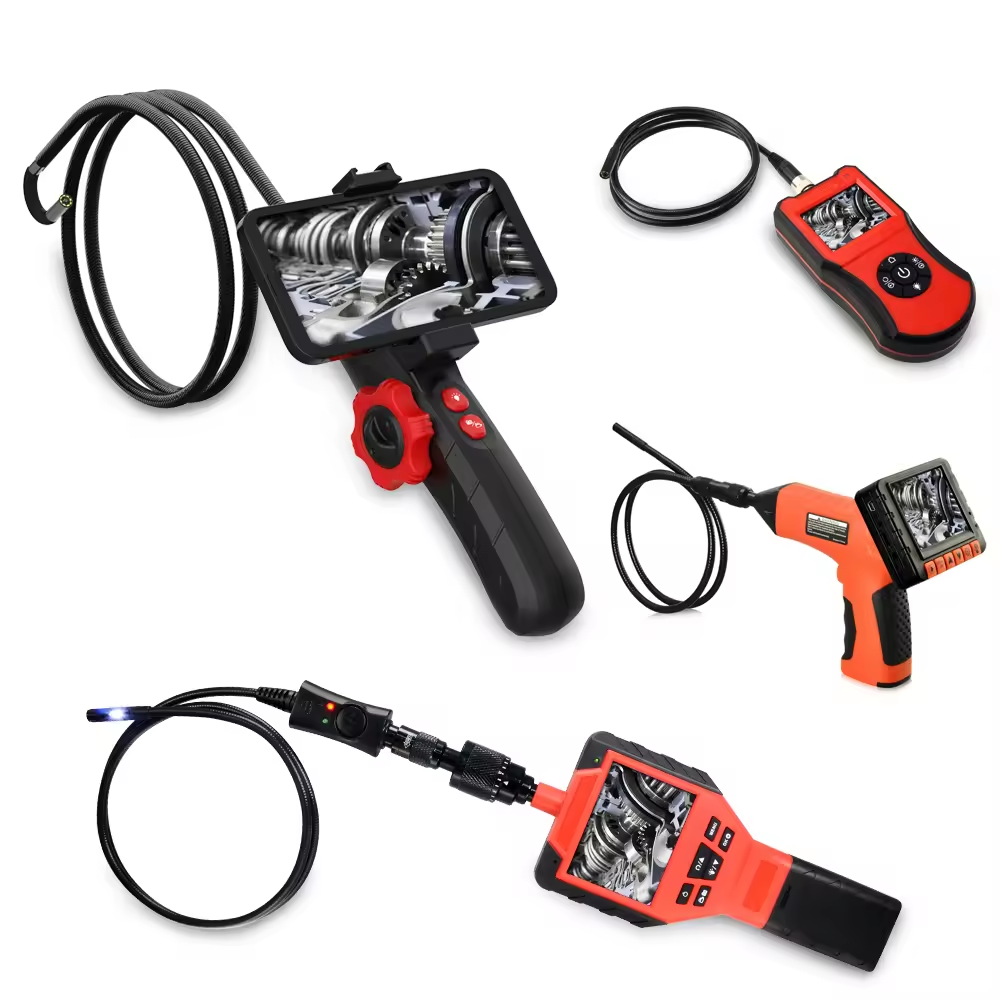
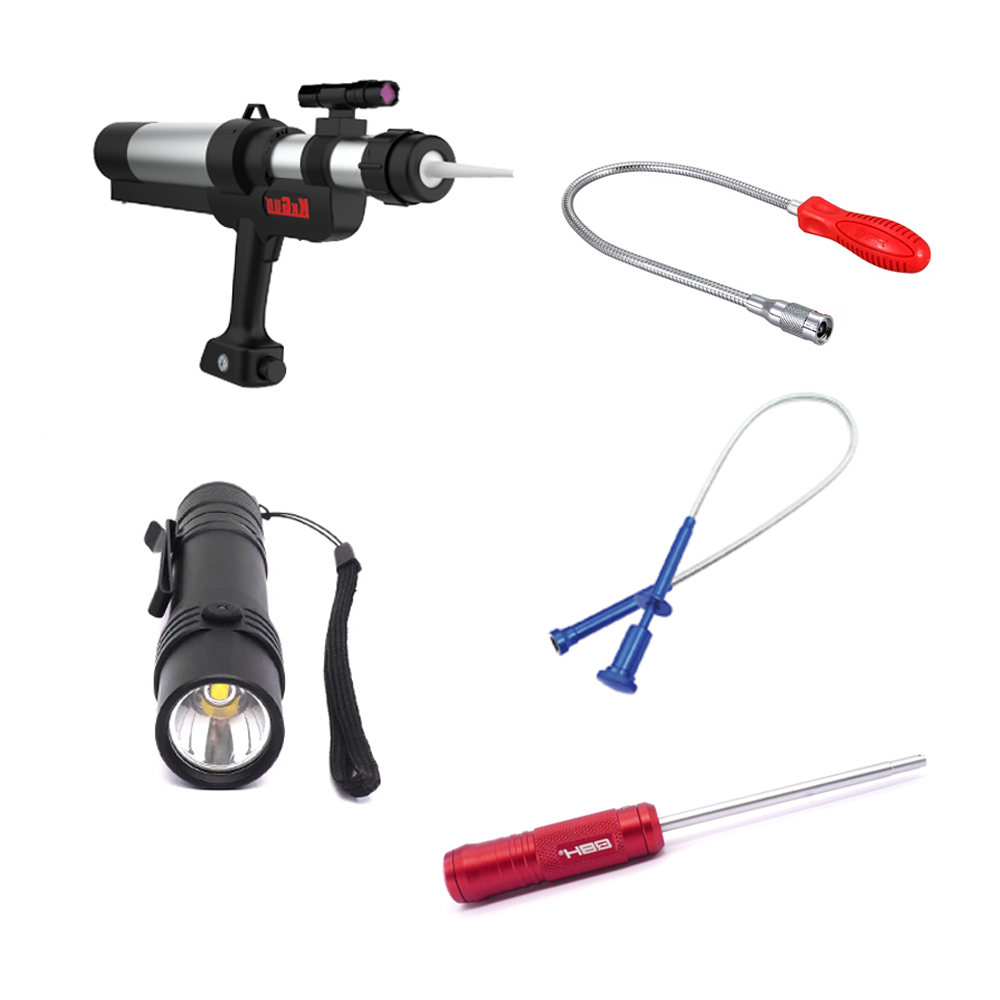
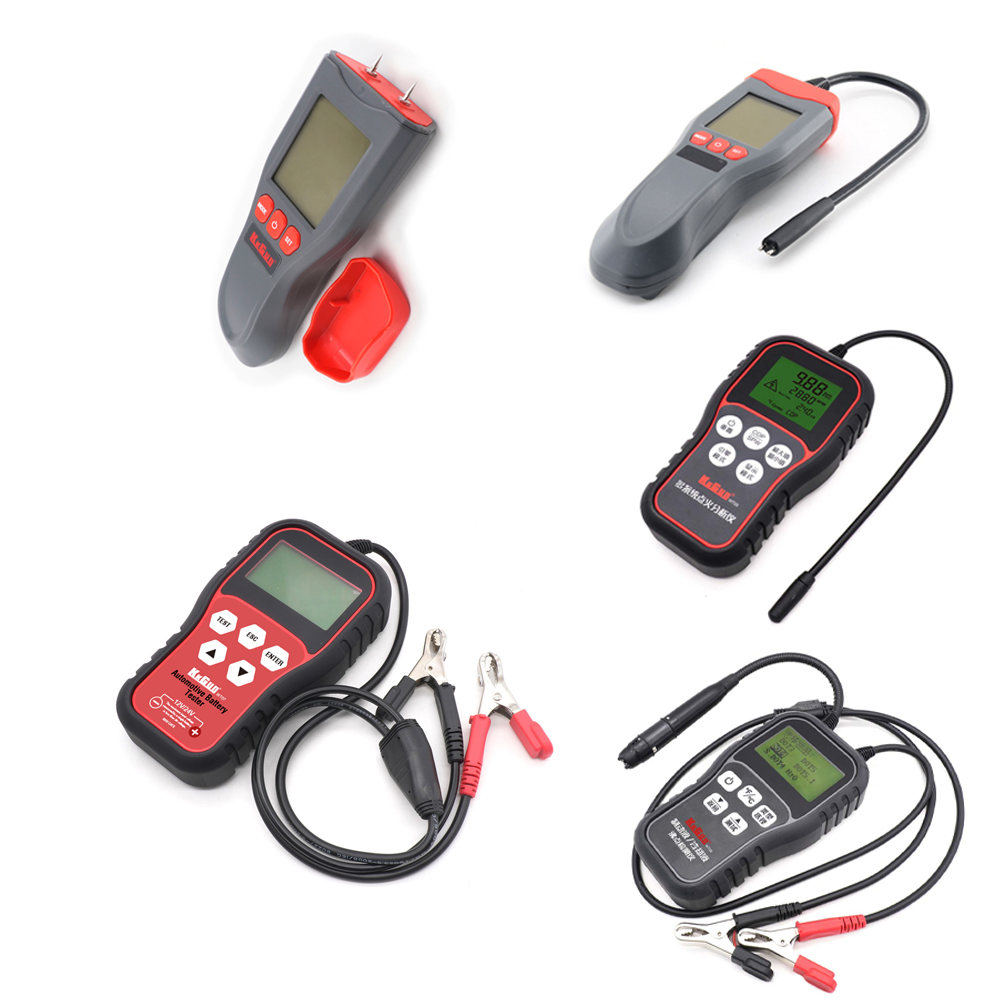
Car evaporator cleaning is essential for maintaining the efficiency and longevity of your vehicle’s air conditioning system. One of the most effective ways to clean an evaporator is by using a Car Evaporator Cleaning Borescope along with an air conditioner cleaner. This state-of-the-art tool makes it possible to clean small spaces and hard-to-reach areas without disassembling major components. In this guide, we will cover everything you need to know about cleaning your car’s evaporator, including a detailed step-by-step breakdown.

- Improved Air Quality: A clean evaporator ensures that the air circulating inside your car is fresh and free from contaminants.
- Optimal Performance: Regular cleaning helps maintain the air conditioning system’s efficiency, leading to quicker cooling and less strain on the car’s engine.
- Health Benefits: Removing accumulated mold, dust, and bacteria can improve the health of the vehicle’s occupants.
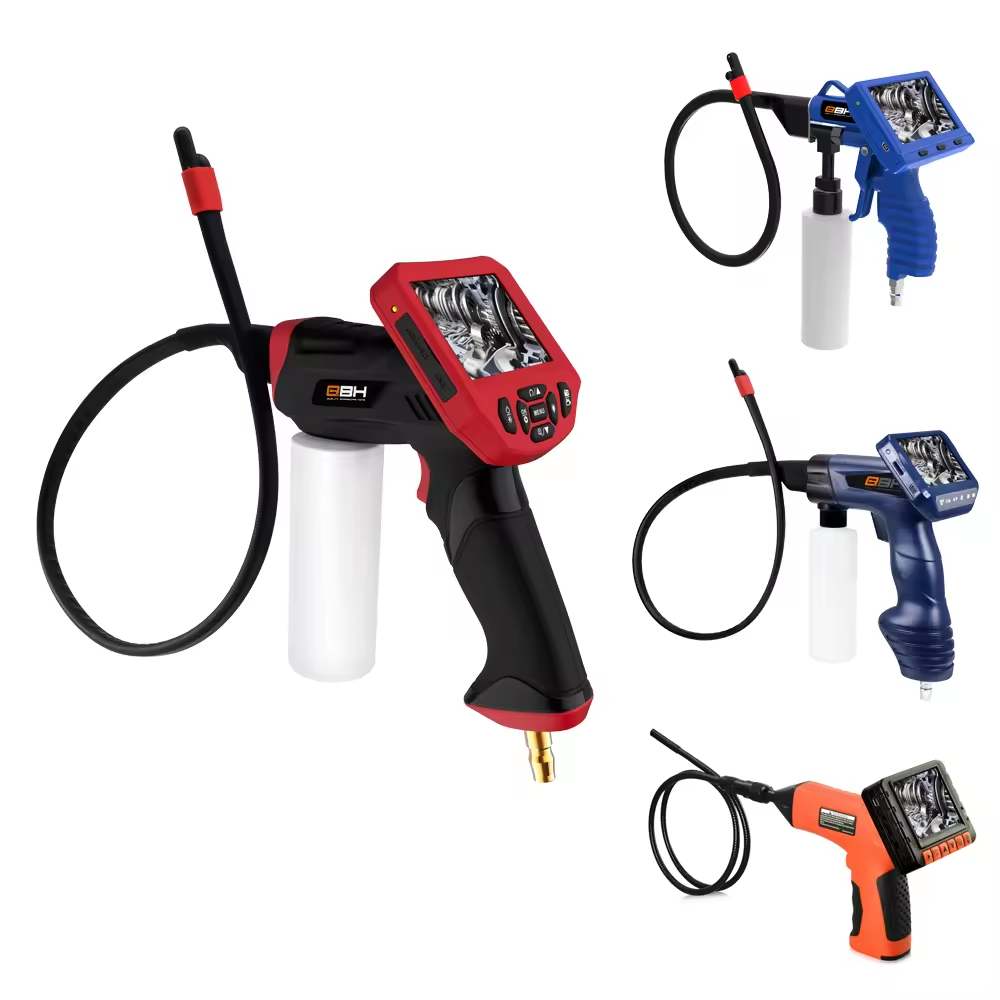
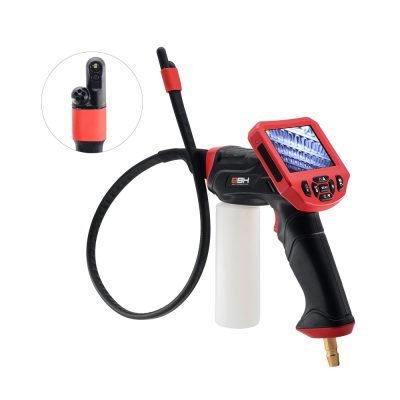
A Car Evaporator Cleaning Borescope is a specialized tool designed for cleaning and inspecting the car’s evaporator and other hard-to-reach areas. It features a metal snake tube resistant to bending, ergonomic design for comfort, and a powerful camera with 450000 pixels for clear imaging. This borescope also includes a strong and wide spraying nozzle to deliver the air conditioner cleaner effectively.
- Ergonomic Design: The borescope is designed for a comfortable grip, making it easy to handle during extended cleaning sessions.
- Metal Snake Tube: Durable and bend-resistant, it can navigate through tight spaces effortlessly.
- IPS Screen: Offers a full-view image with high color restoration, ensuring you see exactly what needs to be cleaned.
- Memory Options: Comes with both micro memory and extended memory card slots for storing images and video recordings.
- High-Resolution Camera: The 450000 pixels camera with an 80-degree large view angle captures clear images of the evaporator’s condition.
- Spraying Nozzle: Efficiently disperses air conditioner cleaner, reaching every nook and cranny.
-
Gather Tools and Materials:
- Car Evaporator Cleaning Borescope
- Air conditioner cleaner
- Gloves and protective eyewear
- Towels or cloths
-
Safety First:
- Park your car on a flat, safe surface.
- Turn off the engine and remove the key.
- Wear gloves and protective eyewear.
-
Identify Location:
- The evaporator is usually located behind the dashboard. Refer to your vehicle’s manual for the precise location.
- In some cars, accessing the evaporator might require removing the glove box or other panels.
-
Disassemble as Necessary:
- Use suitable tools to remove any obstructing components.
- Take care not to damage any surrounding parts.
-
Insert the Borescope:
- Carefully insert the borescope into the ventilation system, guiding it towards the evaporator.
- Use the IPS screen to navigate and locate the evaporator.
-
Spray Air Conditioner Cleaner:
- Once the evaporator is in view, use the borescope’s spraying nozzle to evenly distribute the air conditioner cleaner.
- Ensure the cleaner reaches all surfaces, especially hard-to-reach corners and crevices.
-
Soak and Wait:
- Allow the cleaner to soak for the recommended time specified on the product label, usually a few minutes.
-
Scrub if Needed:
- If the evaporator is visibly dirty, you may need to carefully scrub it using a soft brush attachment on the borescope.
Step 4: Rinse and Dry
-
Rinse the Evaporator:
- After the cleaner has done its job, rinse the evaporator with water if instructed by the cleaner’s manufacturer.
- Use the borescope to ensure thorough rinsing.
-
Dry the Components:
- Allow the evaporator and surrounding area to dry completely.
- You might use a dry cloth or compressed air to speed up the drying process.
Step 5: Reassemble and Test
-
Reattach Components:
- Reassemble any parts you removed to access the evaporator.
- Make sure all screws and clips are securely fastened.
-
Test the Air Conditioning System:
- Start the vehicle and turn on the air conditioning to its highest setting.
- Check for any unusual sounds or inefficiencies.
- Ensure that the air is flowing freely and smells fresh.
- Regular Maintenance: Clean the evaporator at least once a year or as recommended by your vehicle manufacturer.
- Use High-Quality Cleaners: Opt for reputable air conditioner cleaners specifically designed for automotive use.
- Professional Help: If you are unsure about the cleaning process, consider hiring a professional to avoid any potential issues.
Cleaning your car’s evaporator using a Car Evaporator Cleaning Borescope and air conditioner cleaner can significantly enhance the comfort and performance of your vehicle. This advanced tool allows you to reach areas that are otherwise inaccessible, ensuring a thorough cleaning job. By following this comprehensive guide, you can maintain your car’s air conditioning system in top condition, ensuring a pleasant and healthy driving experience.
Maintaining a clean car evaporator not only improves the air quality but also ensures efficient cooling and prolongs the life of your air conditioning system. The Car Evaporator Cleaning Borescope makes this task simpler and more effective, transforming a challenging job into a straightforward process that can easily be done at home.